
Click picture above for our IndyGive donation page
Click picture above for our IndyGive donation page
We’ve recently had the pleasure of having an interview with Fox21 News. After generous donations of up to 50% vet costs, we typically spend over $40,000 on veterinary care every year. The Give! campaign covers a large part of these costs for the year and helps give our cats the medical attention they need. We also are continuously working on rehabilitating cats through patience and socialization. Your donations through the Indy Give campaign play a big role in keeping our shelter running and every bit is appreciated!
https://lookwhatthecatbroughtin.org/wp-content/uploads/2020/12/video-1607738760.mp4

Please donate!
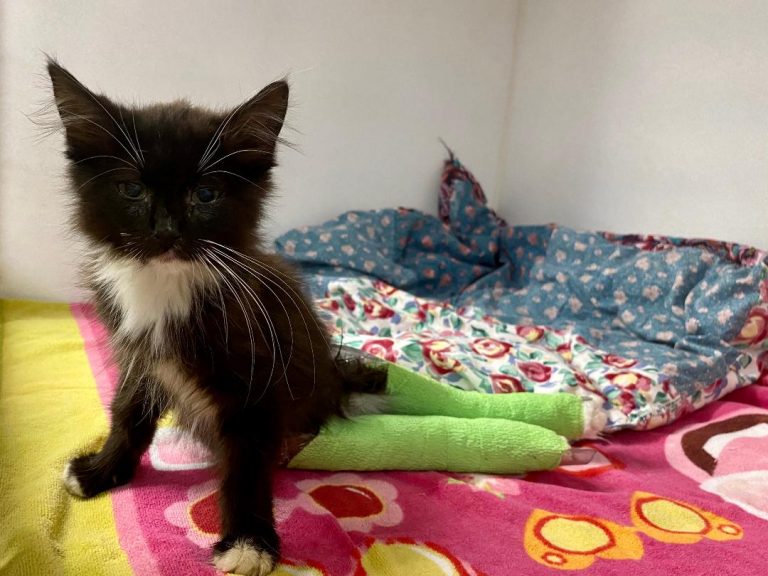
In early August, little Franklin of Lamar was attacked by a dog and thrown against a wall resulting in bilateral femur fractures and other injuries. Fortunately, he was rescued by a good samaritan and taken to a veterinarian who splinted his hind legs to stabilize the fractures . Unfortunately, surgery was delayed due to the surgeon’s illness. On August 8th, Franklin was transferred to our shelter from the Second Chance Animal Rescue in Lamar. We are grateful to both the Lamar Animal Medical Center for their initial treatment of Franklin and to the Second Chance Animal Rescue Colorado for entrusting us with his care and generously contributing to his continuing medical treatment. And now we are asking our kind supporters to help offset the cost of Franklin’s medical care, approximately $3000, to include hernia surgery at Aspenwood Veterinary Hospital and pinning of his femur fractures by Colorado Canine Orthopedics . Your generous support will help give Franklin, this beautiful 9 week old kitten, a well-earned opportunity to live a long and healthy life in a loving permanent home.
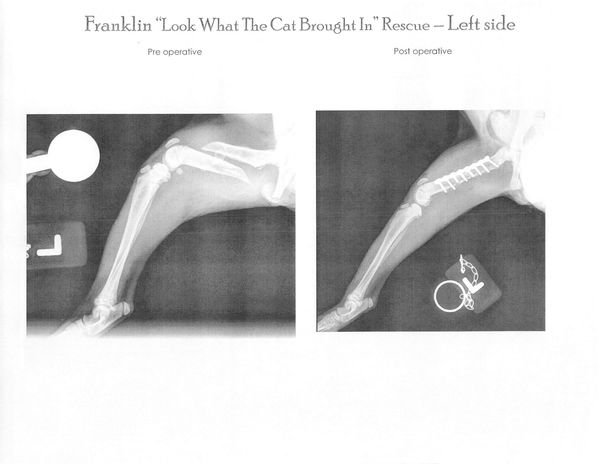
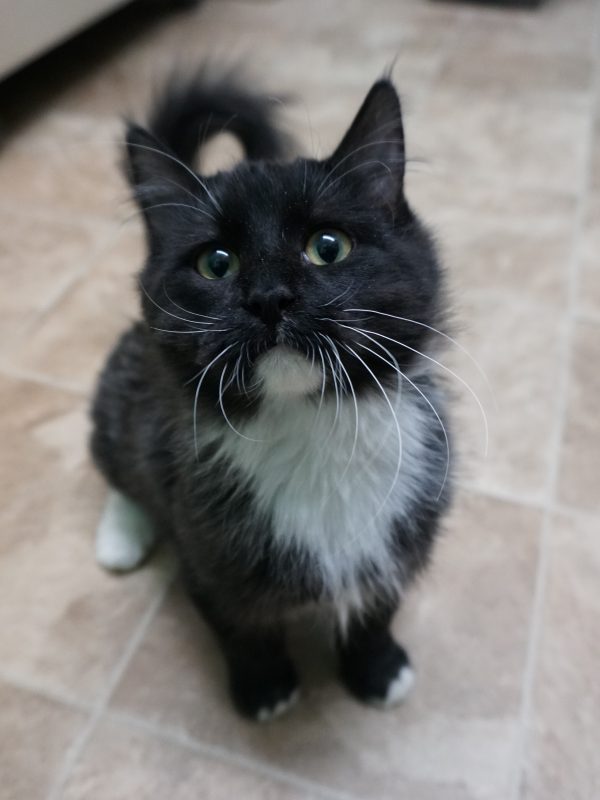
Franklin was a 9 week old kitten when he transferred to us in August following a dog attack. With the great works of Colorado Canine Orthopedics and Aspenwood Veterinary Hospital, his bilateral femur fractures and other injuries were treated.
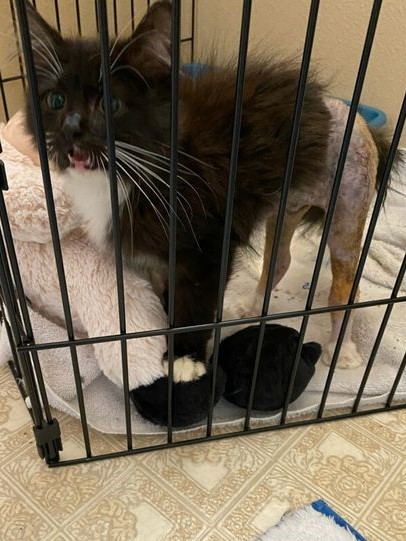
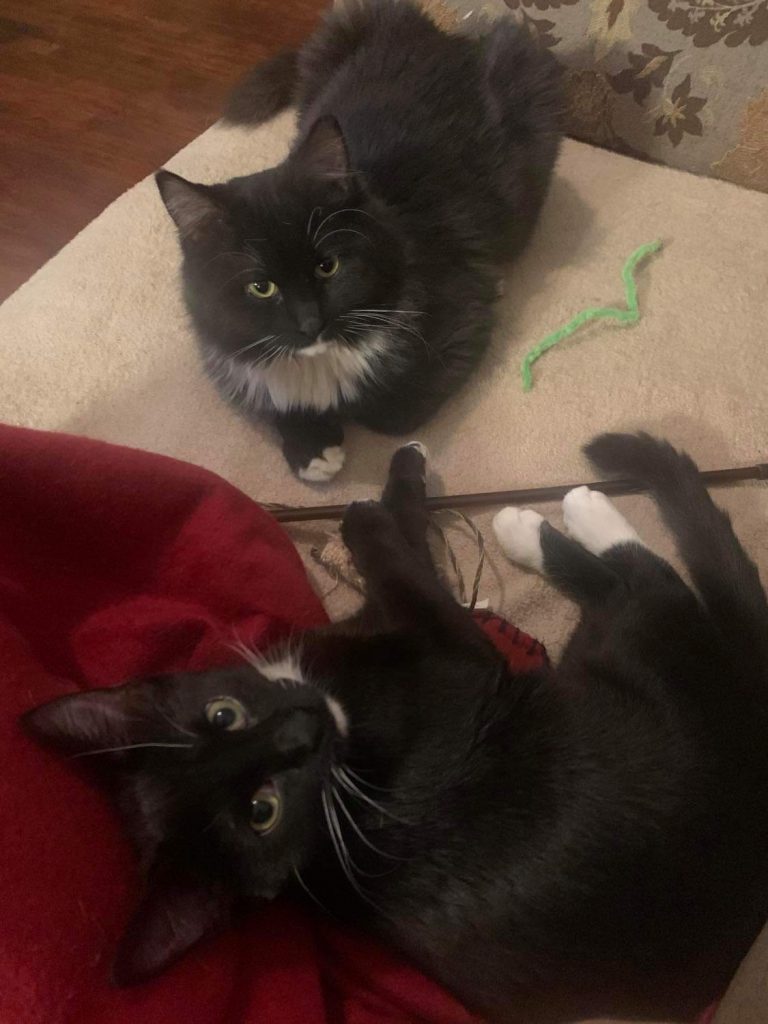
In early November, Franklin was adopted and now happily shares his furrever home with his new best friend, Charlie. He sleeps comfortably on his new bed in his new home.

Success stories like this happen through collaboration with other shelters, support from veterinary partners, dedication of caring foster families, and ultimately the love of the adopting family. We are grateful to all who contributed to Franklin’s medical fund and followed his story on our Facebook page. We couldn’t fulfill our mission of helping cats in need without the generous support of those who donate generously and contribute selflessly in so many ways.
Please donate!
Please help us meet our year end goals:
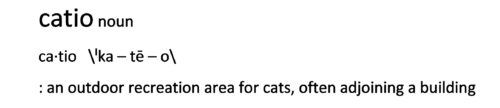
Story behind the catio:
I, the designer/builder of the catio, am a Girl Scout who was looking for a Gold Award project. I knew I wanted to do something to improve the lives of shelter animals. After touring “Look What the Cat Brought In” and talking with Jennifer Nosler, executive director of the Feline Rescue Network, I saw the need for a better environment for the more feral cats. These cats are used to being outdoors; then, for their health and safety, they are often captured and turned over to a rescue for care. Unfortunately, this usually means these cats are then confined to a relatively small indoor area. Jennifer and I agreed that we could make an outdoor living area–a “catio”–so the cats could choose to experience the elements as they desired.
You, too, can have a catio! Below are some design considerations, building materials that you would need, and construction details:
Catio Design Considerations:
Catio Design Considerations
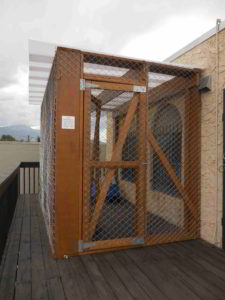
We chose to build the catio on an existing deck, covering a couple windows that could provide the cats access to both the indoors and the outdoors. Though the deck limited the maximum size of the catio, we felt the freedom of choice option (i.e., the cats can go in or out whenever they wanted) made this the most desirable location.
As is evident by the photo, I did have room to make the catio a bit larger; there are two reasons for the chosen size. For one, since the deck is not on ground level, I needed to leave a walk space to allow access to the catio on all sides for any needed repairs, etc. Secondly, I sized the catio to maximize use of standard size lumber to minimize costs.
Because I placed the catio against a building, mine is only 3-sided. The long wall is approximately 12 feet while the sides are 6 feet. Though cats would have access via the windows, I still needed to provide door access for humans.
When we received the building permit from the Colorado Department of Agriculture, I received the requirement that the enclosure be a double-enclosure with a one-foot space between the walls.
Your catio may be different than mine. Yours may be bigger or smaller. You may place yours on a deck or on ground level. Yours may be against a building or it may not be. You can make a catio to fit your own space and needs!
If your catio will be different from mine, you will need different materials, of course. Below is the list of materials and tools I needed to build mine:
4 – 2x12x12 boards
16 – 2x12x8 boards
16 – 2x4x8 boards
8 – roof panels
3 – 4′ x 50′ rolls chain link fencing
1 – 1 lb box 3″ nails
1 – 1 lb box 2.5″ screws
2 – 1 lb box 1.25″ screws
3 – 1 lb box 1.25″ staples
1 – 1 lb box 3/4″ staples
1 – package of washers
10 – 3 x 7 tie plates
2 – gate hinge/latch/pull sets
2 – gallons weatherproofing stain
rollers for staining
Tools needed:
Materials notes:


The instructions below give the general overview of how I built catio:
Board preparation
Constructing the outside of the enclosure
Constructing the roof
Constructing the interior & doors
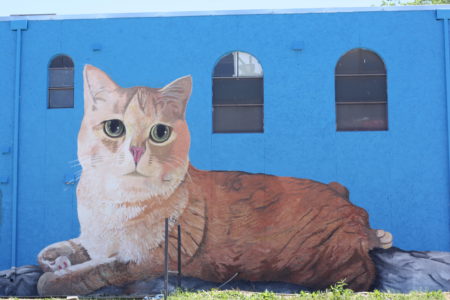
We are very proud of the mural gracing our shelter building, the result of a truly collaborative effort within our community. Through our participation in IndyGive! in 2016, we were connected with several Air Force Academy cadets whose goal was to raise our public profile. These cadets coordinated with Kim Polomka, a Colorado Springs muralist and internationally recognized artist.
The inspiration for our mural was Willie, a very special cat with a congenital defect resulting in deformed hind legs. In keeping with our mission to help cats with medical needs, we consulted an orthopedic veterinary surgeon who determined corrective surgery was not a viable option. Despite some mobility challenges, Willie developed from a playful kitten into a very loving cat who was adopted by an incredible family. This family became the generous sponsor for our mural project and with the support of a local Sherwin Williams and the hard work of many volunteers, our vision became a reality.
Our mural is much more than simply a painting of a cat – it represents the strength of a community working together, powered by compassion.
Thank you Kim, Willie’s dad, Sherwin-Williams, Air Force cadets class of 2017, Cecily, Evan, Nanette and Jerry!